Image processing
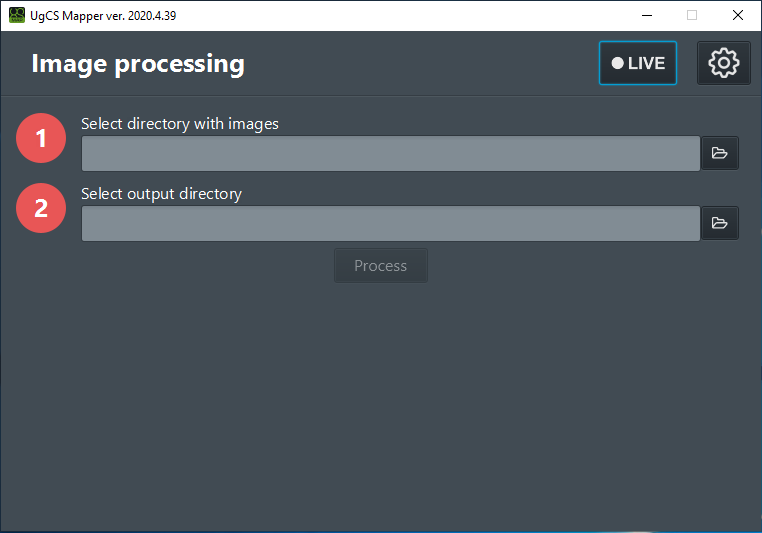
Figure 3. Window displayed when UgCS Mapper is launched
- Images for processing should be georeferenced, e.g. EXIF data should contain GPS coordinates of the camera.
- Select directory with images, select or create output directory and click "Process". Make sure to select the correct camera type, if the camera supports more than one mode.
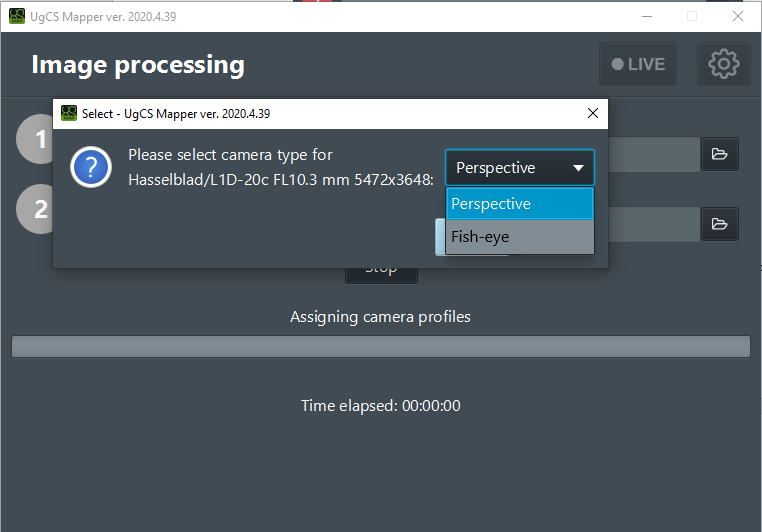
Figure 4. Camera mode
- If the camera is not calibrated, the following window will be displayed:
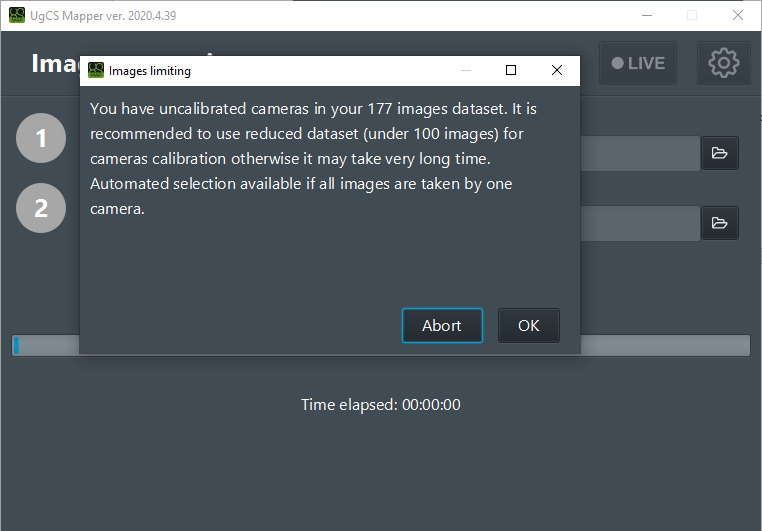
Figure 5. Camera calibration
For best calibration result, select the folder with the set of images taken nadir from same altitude on the same AGL (Above Ground Level.)
Calibration process take some time. When calibration is complete, the following window will appear:
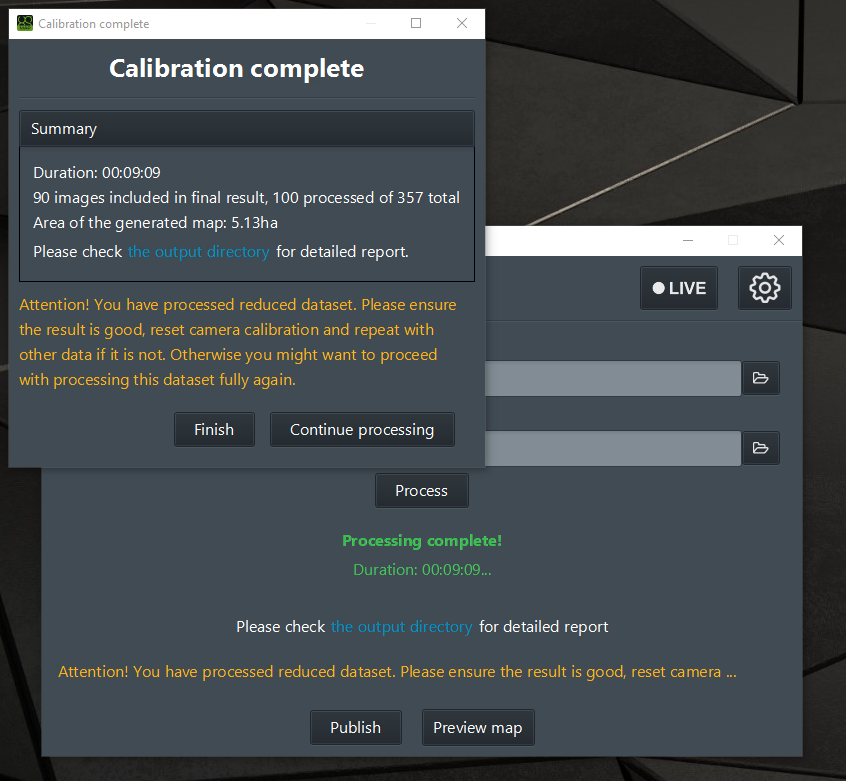
Figure 6. Calibration complete
When image processing is complete, the following window will be displayed:
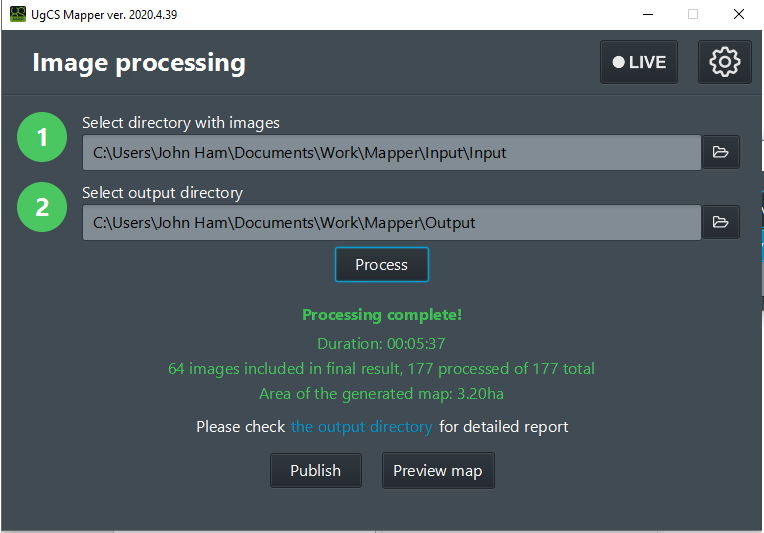
Figure 7. Camera calibration complete
- Click the “Preview map” button and select the desired map provider (Base layer).If the processing results are satisfying – close the preview tab and click Publish.
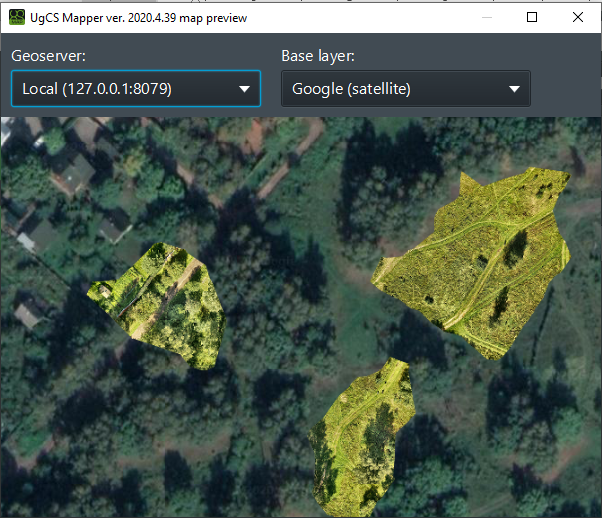
Figure 8. Preview
- Name the map and elevation layer and select “Publish”. You can accept default name (based on source folder of images) or input new value. The UgCS Mapper will process the layers to UgCS desktop.
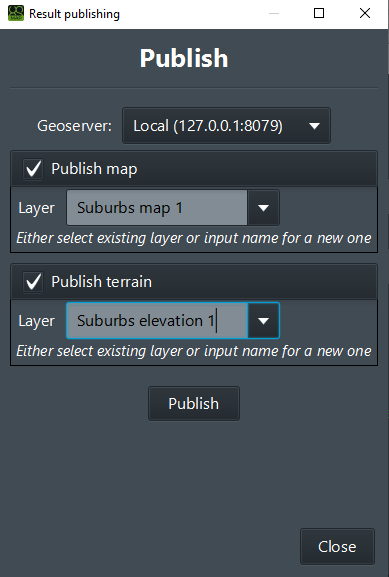
Figure 9 Publish options
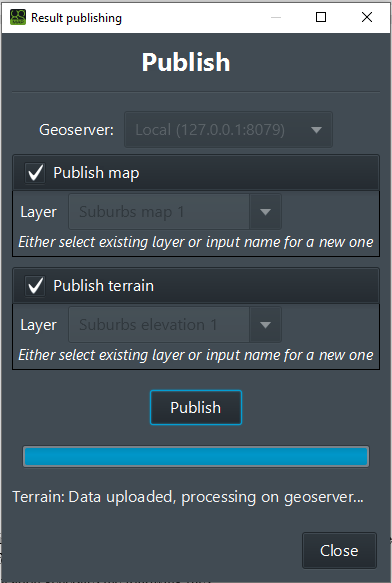
Figure 10 Publishing successfully completed
- After processing is complete, the elevation and the map layers under the indicated name can be found in the Map options in UgCS, also the output folder will contain orthophoto.tiff with stitched map and report.html with processing report. In the root of the output directory application generates the following files:
• Geotiff
• MBTiles
• Processing report HTML
• Logs.
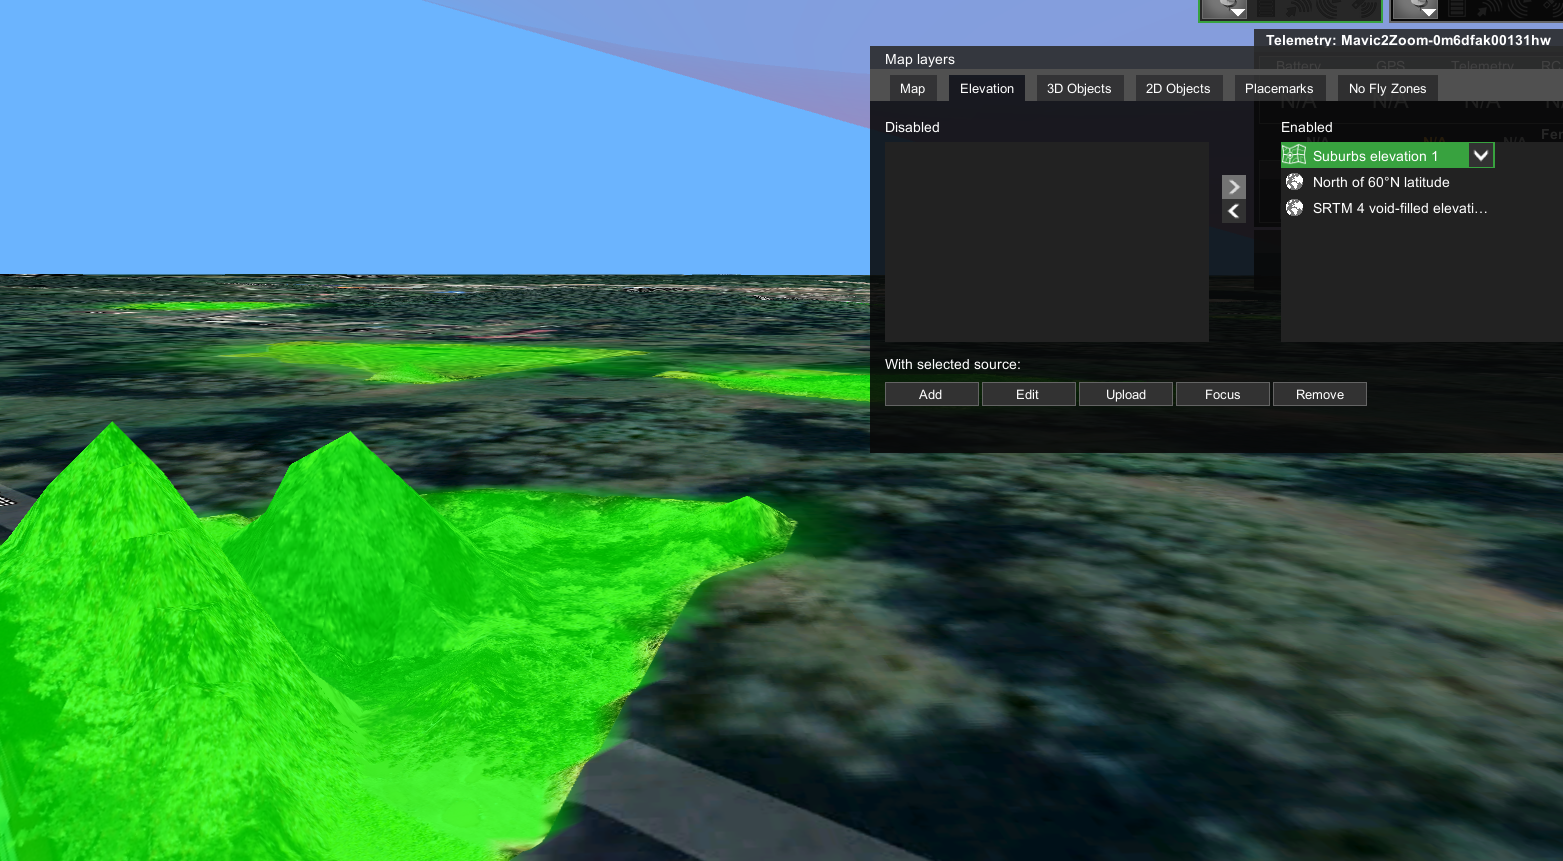
Figure 11. UgCS elevation layer tab
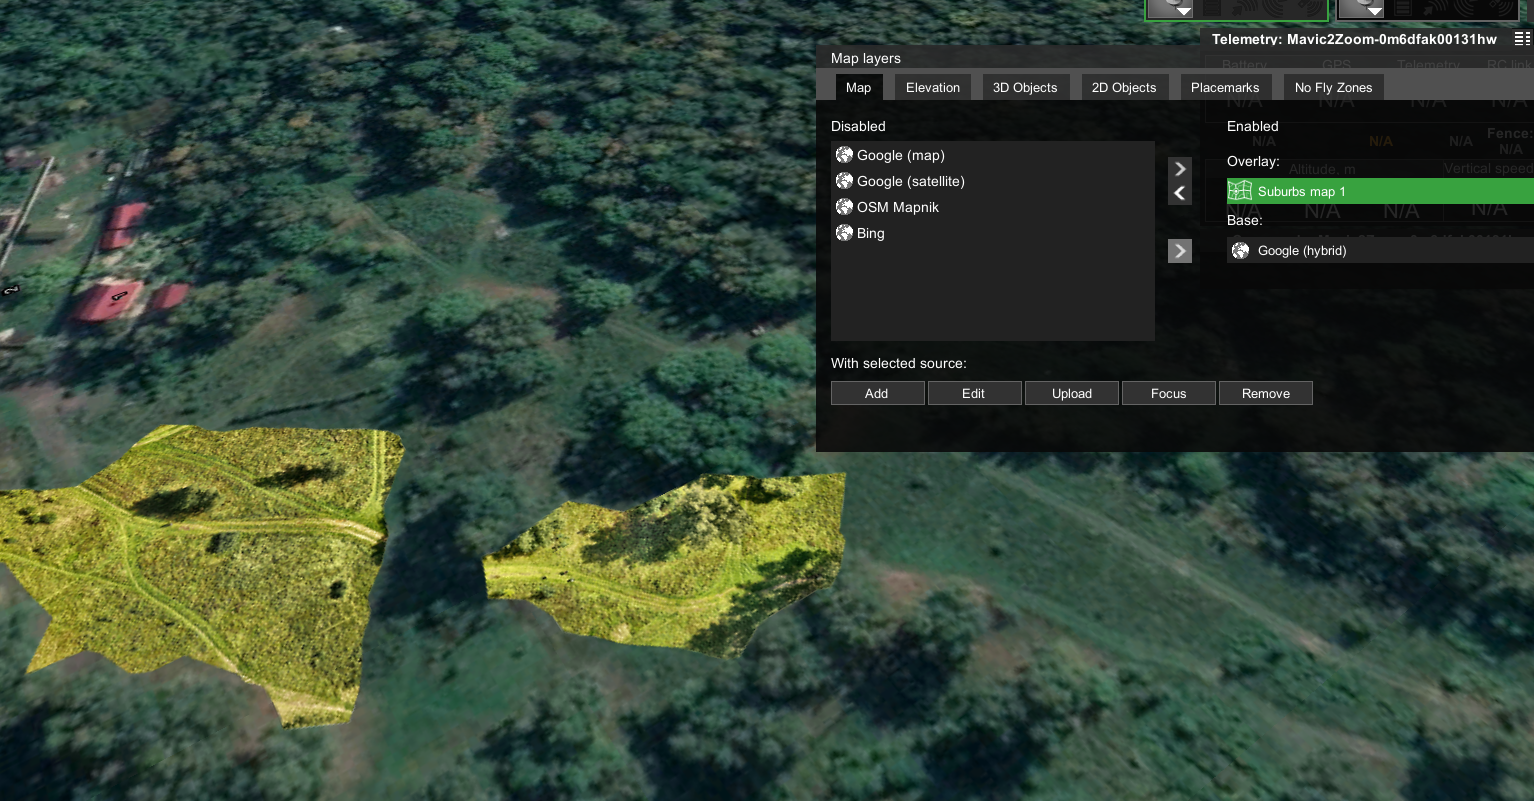
Figure 12. UgCS map layer tab
Updated 5 months ago
